
0
Owner's of the Brother Photo Scanner Brother Photo Scanner gave it a score of 0 out of 5. Here's how the scores stacked up:


Scan Using the Control Panel
134
6
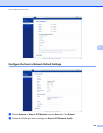
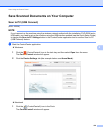
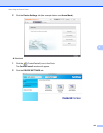
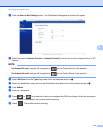
b Click the Scan to Net Settings button. The Web Based Management window will appear.
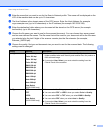
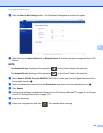
c Select the device (Network Device 1 or Network Device 2) to which you want to assign the Scan to PC
feature.
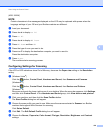
NOTE
The Network Device 1 settings will be applied to on the Control Panel of the machine.
The Network Device 2 settings will be applied to on the Control Panel of the machine.
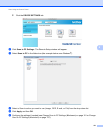
d Select Scan to PC(Net Connect-XXXXXX) (XXXXXX is a scan type) from the Type drop-down list for
the selected device in c.
e Select the destination computer from the Destination drop-down list for the selected device in c.
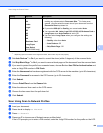
f Click Submit.
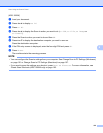
g Configure the settings if needed (see Change Scan to PC Settings (Windows
®
) on page 151 or Change
Scan to PC Settings (Macintosh) on page 157).
h Load your document.
i Press your configured key and then . The machine starts scanning.


Find Your Products By Category
Please Login
