

0
Owner's of the Brother Photo Scanner Brother Photo Scanner gave it a score of 0 out of 5. Here's how the scores stacked up:

Scan Using Your Computer
75
5
File 5
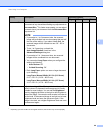
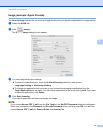
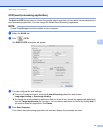
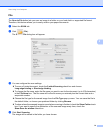
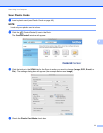
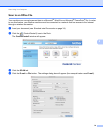
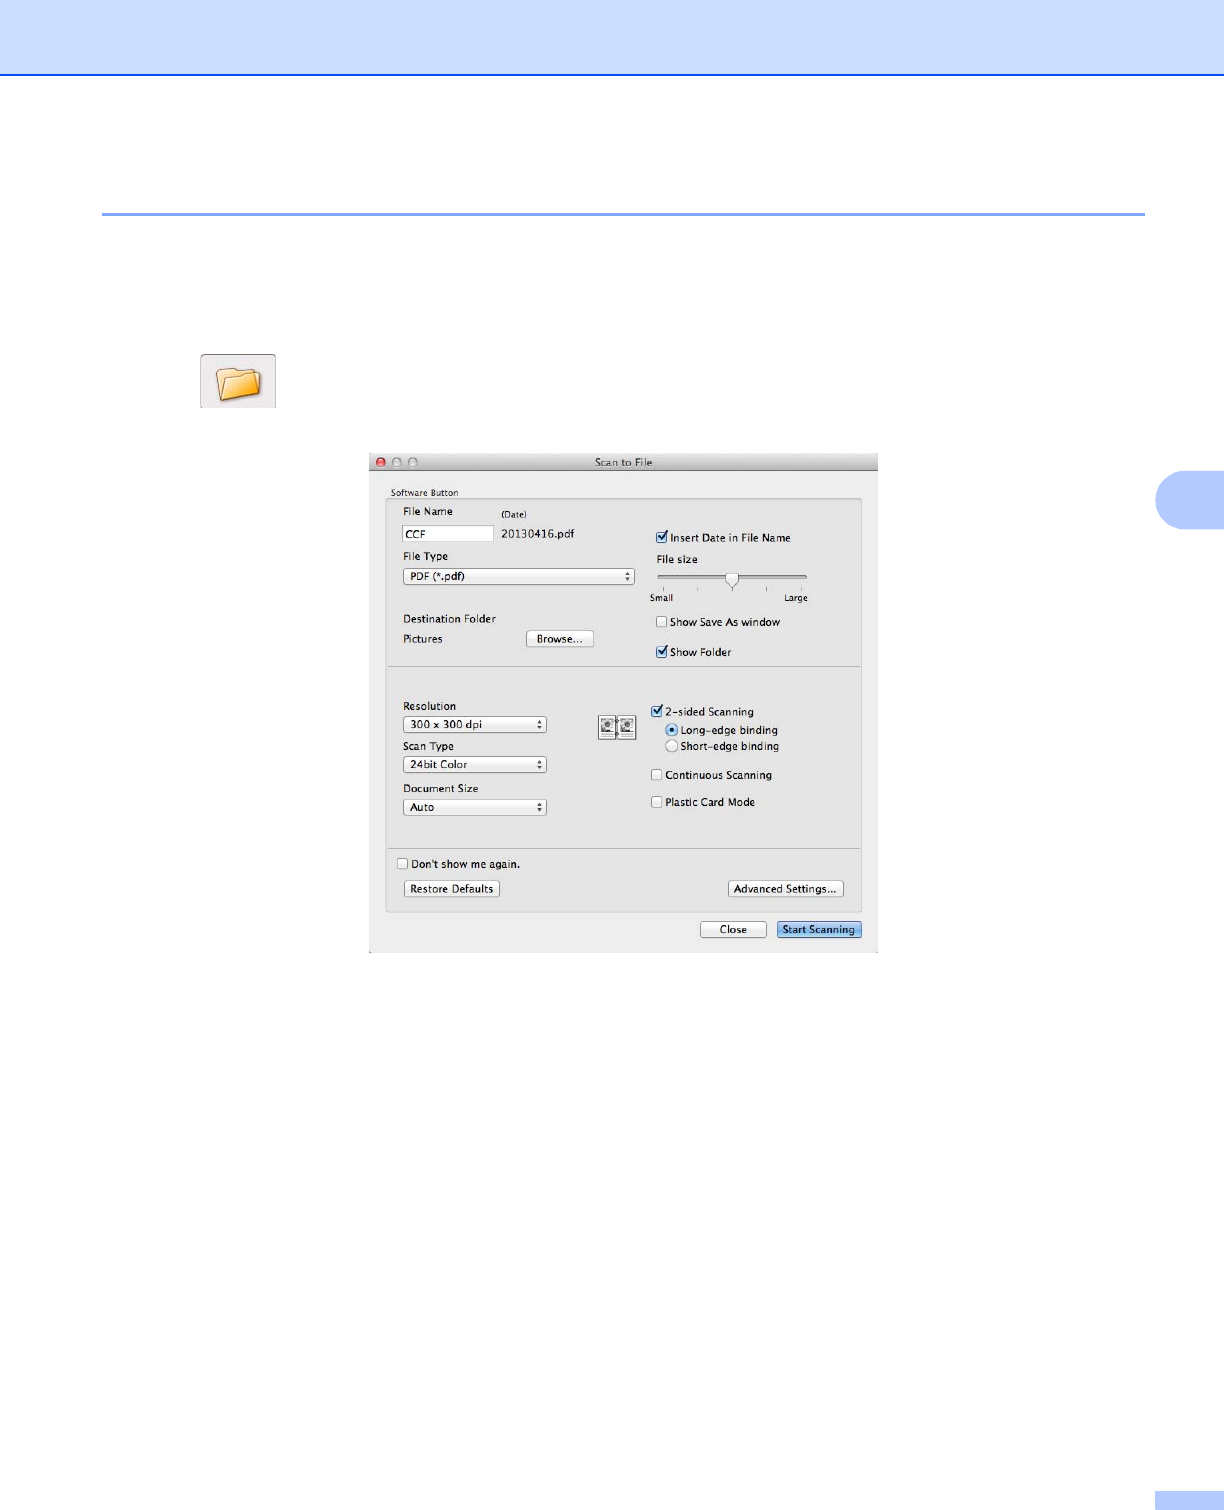
The Scan to File button lets you scan an image to a folder on your hard disk in a supported file format.
Therefore, this feature allows you to easily archive your paper documents.
a Select the SCAN tab.
b Click (File).
The Scan to File dialog box will appear.
c You can configure the scan settings.
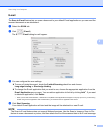
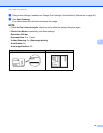
To scan a 2-sided document, check the 2-sided Scanning check box and choose
Long-edge binding or Short-edge binding.
To change the file name, enter the file name you want to use for the document (up to 100 characters)
in the File Name box. The file name will be the file name you entered plus the current date and a
sequential number.
Choose the file type for the saved image from the File Type pop-up menu. You can save the file to
the default folder, or choose your preferred folder by clicking Browse.
To show where the scanned image is saved when scanning is finished, check the Show Folder check
box. If you want to specify the destination of the scanned image every time, check the
Show Save As window check box.
d Click Start Scanning.
The image will be saved in the folder you have chosen.


Find Your Products By Category
Please Login
