
4.6
Owner's of the Vivitar Camcorder DVR 850W gave it a score of 4.6 out of 5. Here's how the scores stacked up:
37
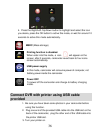
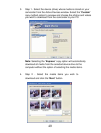
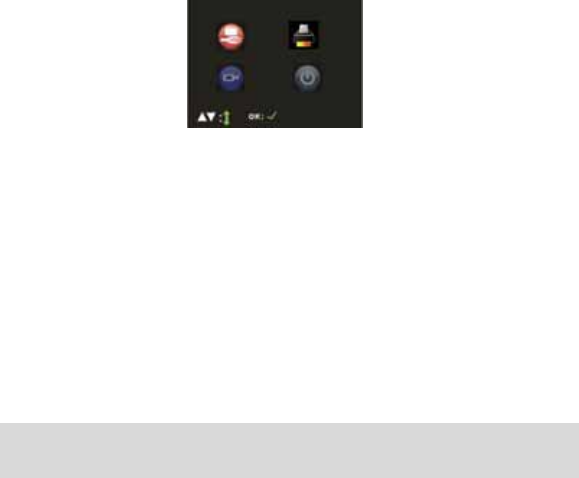
4. Turn your camcorder on.
5. The four icons will appear on the camcorder screen. In this mode,
only Print function is enabled.
6. Press the Right/Left /Up/Down button to highlight and select the
Print icon, press the OK button to active this function. “Connect
Printer” will appear on the screen.
7. press the Right button to select the photo want to print, press
Ok button, “PRINTING CURRENT PHOTO” will appear on the
screen, the current photo will be printed out.
8. Once finished printing, repeat Step 7 to print next photo.
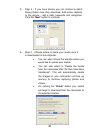
Note: In this mode, only Print mode is enabled. If enter into the other three modes,
pull out the USB cable from camcorder USB slot, and repeat the steps to print
photos.
Transferring Images to your PC using the
software
Once you have taken photos and videos with your camcorder you now need
to download or transfer them to your computer. This allows you to save all
your photos and videos for playing, editing, emailing or uploading as you
desire.
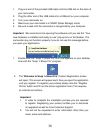
Once your photos and videos are transferred to the PC you may delete them
from your camcorder thereby freeing up the camcorder’s memory to take
more memorable shots.
Use the “Snap ‘n Share Pro” program to import the photos and videos from your
camcorder.


Find Your Products By Category
Please Login
