
4.6
Owner's of the Vivitar Camcorder DVR 850W gave it a score of 4.6 out of 5. Here's how the scores stacked up:


42
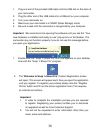
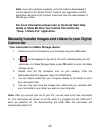
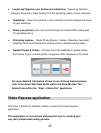
Note: If you also selected a website, once the media is downloaded it
can be viewed in the ‘Select Photos’ mode of your application and the
application will jump to the ‘Upload’ mode and open the web browser of
the site you chose.
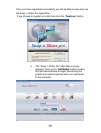
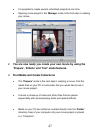
For more information please refer to the Quick Start Help
Guide or Show Me How Tour tutorial from within the
“Snap ‘n Share Pro” application.
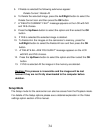
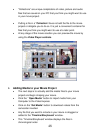
Manually transfer images and videos to your Digital
Camcorder
Your camcorder is a Mass Storage device
1. Connect your DV camcorder to your computer using the USB cable.
2. A icon will appear on top left of the LCD, indicating that your DV
camcorder is in Mass Storage Mode, press OK button to enter into Mass
Storage mode.
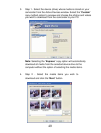
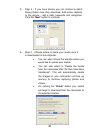
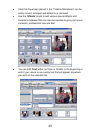
3. Double click the My Computer icon on your desktop. Click the
Removable Disk that appears. Open the DCIM folder.
4. You can import media from your computer directly to this folder to use it
as a removable Disk.
5. You can copy and save the images and videos that you recorded with
your camcorder to any folder you wish on your computer
Note: After you connect your DV to your PC, you will need to turn the camcorder
on. The camcorder will remain on all the while it is plugged into the USB and it
won’t be switched off. On disconnecting the USB cable the camcorder will
automatically switch off.


Find Your Products By Category
Please Login
