10
DMOC205SS
VMOC205SS
The sensor “senses” the vapor and its resistance increases
gradually. When the resistance reaches the value set
according to the menu, supplementary cooking is started.
The time of supplementary cooking is determined by experi-
ment with each food category and inputted into the LSI.
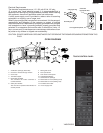
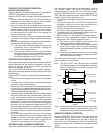
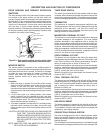
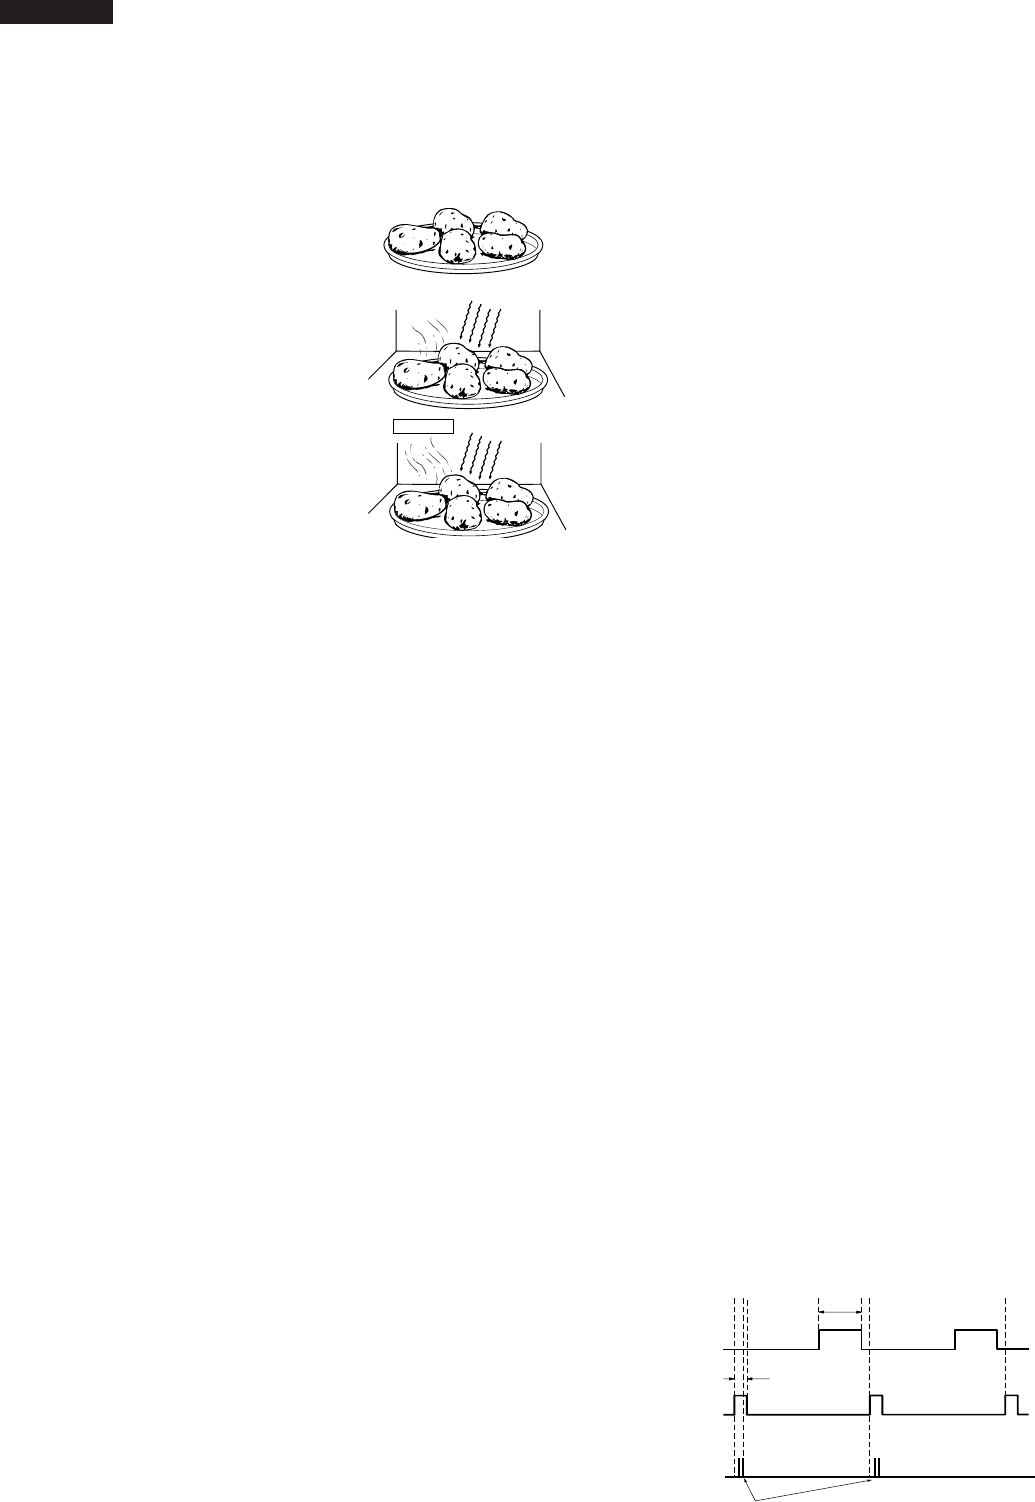
An example of how sensor works:
1. Potatoes at room
temperature.
Vapor is emitted very slowly.
2. Heat potatoes. Moisture and
humidity is emitted rapidly.
You can smell the aroma as it
cooks.
3. Sensor detects moisture and
humidity and calculates
cooking time and variable
power.
Cooking Sequence.
1. Touch SENSOR COOK pad.
NOTE: The oven should not be operated on SENSOR
COOK immediately after plugging in the unit. Wait
two minutes before cooking on SENSOR COOK.
2. Select desired Sensor setting.
3. Touch START pad.
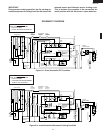
The coil of shut-off relay (RY1, RY6) is energized, the
oven lamp and cooling fan motor are turned on, but the
power transformer is not turned on.
4. After about 16 seconds, the cook relay (RY-2) is
energized. The power transformer is turned on,
microwave energy is produced and first stage is started.
The 16 seconds is the cooling time required to remove
any vapor from the oven cavity and sensor.
NOTE: During this first stage, do not open the door or
touch STOP/CLEAR pad.
5. When the sensor detects the vapor emitted from the
food, the display switches over to the remaining cooking
time and the timer counts down to zero. At this time, the
door may be opened to stir food, turn it or season, etc.
6. When the timer reaches zero, an audible signal sounds.
The shut-off relay and cook relay are de-energized and
the power transformer, oven lamp, etc. are turned off.
7. Opening the door or touching the STOP/CLEAR pad, the
time of day will reappear on the display and the oven will
revert to an OFF condition.
COMPU BROIL/ COMPU ROAST/ COMPU BAKE
COMPU BROIL/ ROAST/ BAKE will automatically compute
the oven temperature, microwave power and cooking time
for baking, roasting and broiling. Set the desired program by
touching the COMPU BROIL/ ROAST/ BAKE pad, and
number pad. Enter the weight by touching the Number
pads. When the START pad is touched, the following
operations occur:
1. The COOK indicator will light and the Convection Fan
Symbol will rotate.
2. The cooking time will appear on the display and start
counting down to zero. The cooking time is adjusted
automatically according to the weight of the food.
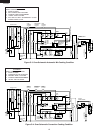
3. The shut-off relays (RY1, RY5 and RY6) are energized,
turning on the oven lamp, turntable motor, cooling fan
motor and convection motor. The power supply voltage
is applied to the heating element.
4. Now, the oven is in the convection cooking mode.
5. When the oven temperature has reached the programmed
convection temperature, the oven goes into the
programmed cooking mode.
6. At the end of the COMPU BROIL/ ROAST/ BAKE cycle,
the damper is returned to the open position and the oven
will go to the off condition. The cooling fan will remain on
until the oven has cooled.
COMPU DEFROST COOKING
The COMPU DEFROST key is a special function key to
defrost meats and poultry faster and better. COMPU DE-
FROST automatically defrosts roast beef, etc.. When the
COMPU DEFROST is selected and the food weight is
entered by using the COMPU DEFROST pad, the oven will
cook according to the special cooking sequence.
FIRE SENSING FEATURE (MICROWAVE MODE)
This model incorporates a sensing feature which will stop
the oven's operation if there is a fire in the oven cavity during
microwave cooking.
This is accomplished by the LSI repeatedly measuring the
voltage across the temperature measurement circuit (ther-
mistor) during it's 32-seconds time base comparing the
obtained voltage measurements. If the most recent voltage
measured is 300mV greater than the previous voltage
measured, the LSI judges it as a fire in the oven cavity and
switches off the relays to the power transformer, fan motor
and convection motor. The LSI also stops counting down
and closes the damper door so that no fresh air will enter the
oven cavity. Please refer to the following section for a more
detailed description.
Operation
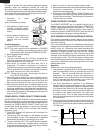
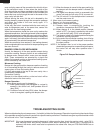
Please refer to the timing diagrams below.
1. The thermistor operates within a 32-seconds time base
and it is energized for three (3) seconds and off for 29
seconds. Two (2) seconds after the thermistor is
energized, the voltage across the temperature
measurement circuit is sampled by the LSI and twenty
one (21) seconds after the thermistor is cut off the LSI
turns on the cooling fan for six (6) seconds.
2. The above procedure is repeated. If the difference
between the first voltage measured (in step 1) and the
voltage measured when the procedure is repeated (step
2) is greater than 300mV the LSI makes the judgment
that there is a fire in the oven cavity and will switch off
the relays to the power transformer, fan motor and
convection motor. The LSI also stops counting down
and closes the damper door so that no fresh air will enter
the oven cavity.
3. Once the fire sensor feature has shut the unit down, the
programmed cooking cycle may be resumed by pressing
the "START" pad or the unit may be reset by pressing the
"CLEAR" pad.
M
ICROW
AVE
AH SENSOR
M
ICROW
AVE
CONVECTION
MOTOR
THERMISTOR
Sensing
Voltage
ON
OFF
ON
OFF
ON
OFF
0 2 3 24 30 32 (sec.) 64 (sec.)
3 sec.
Sensing the voltage across temperature measurement circuit.
6 sec.


