
0
Owner's of the Kenwood GPS Receiver DNX572BH gave it a score of 0 out of 5. Here's how the scores stacked up:

4 ñ English
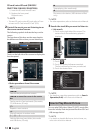
ÑAcquiring GPS signal
The first time you turn on this unit, you must wait
while the system acquires satellite signals for the
first time. This process could take up to several
minutes. Make sure your vehicle is outdoors in an
open area away from tall buildings and trees for
fastest acquisition.
After the system acquires satellites for the first time,
it will acquire satellites quickly each time thereafter.
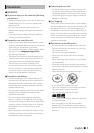
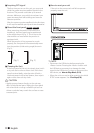
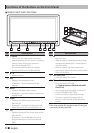
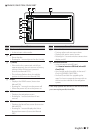
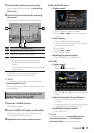
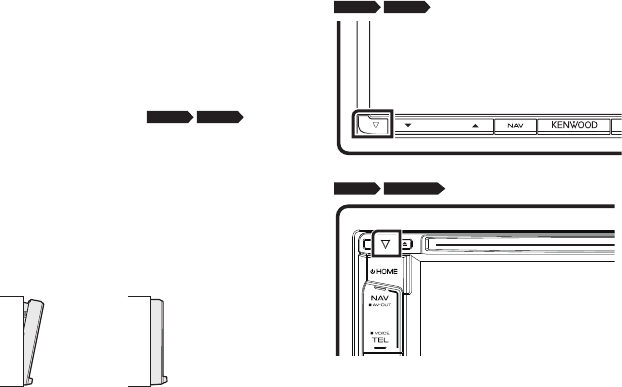
ÑAbout the front panel
DNX8
DNX7
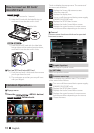
When removing the product from the box or
installing it, the front panel may be positioned
at the angle shown in (Fig. 1). This is due to the
characteristics of mechanism the product is
equipped with.
When the product is first powered on works
properly, the front panel will automatically move
into the position (initial setting angle) shown in
(Fig. 2).
(Fig. 1) (Fig. 2)
ÑCleaning the Unit
If the front panel of this unit is stained, wipe it with
a dry soft cloth such as a silicon cloth. If the front
panel is stained badly, wipe the stain off with a
cloth moistened with neutral cleaner, then wipe it
again with a clean soft dry cloth.
! CAUTION
• Applying spray cleaner directly to the unit may
affect its mechanical parts. Wiping the front panel
with a hard cloth or using a volatile liquid such as
thinner or alcohol may scratch the surface or erase
screened print.
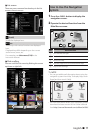
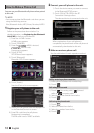
ÑHow to reset your unit
If the unit or the connected unit fails to operate
properly, reset the unit.
DNX8
DNX7
HOME
DNX6
DNX5/4
R-CAM
✎ NOTE
• Disconnect the USB device before pressing the
<Reset> button. Pressing the <Reset> button with
the USB device connected can damage the data
stored in the USB device. For how to disconnect the
USB device, see How to Play Music (P.13).
• When the unit is turned on after resetting, the Initial
SETUP screen appears. See First Step (P.6).


Find Your Products By Category
Please Login
