
5.0
Owner's of the Kenwood Car Stereo System Kenwood Car Stereo System gave it a score of 5.0 out of 5. Here's how the scores stacked up:

10
|
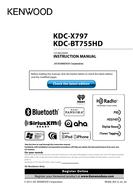
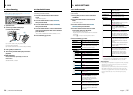
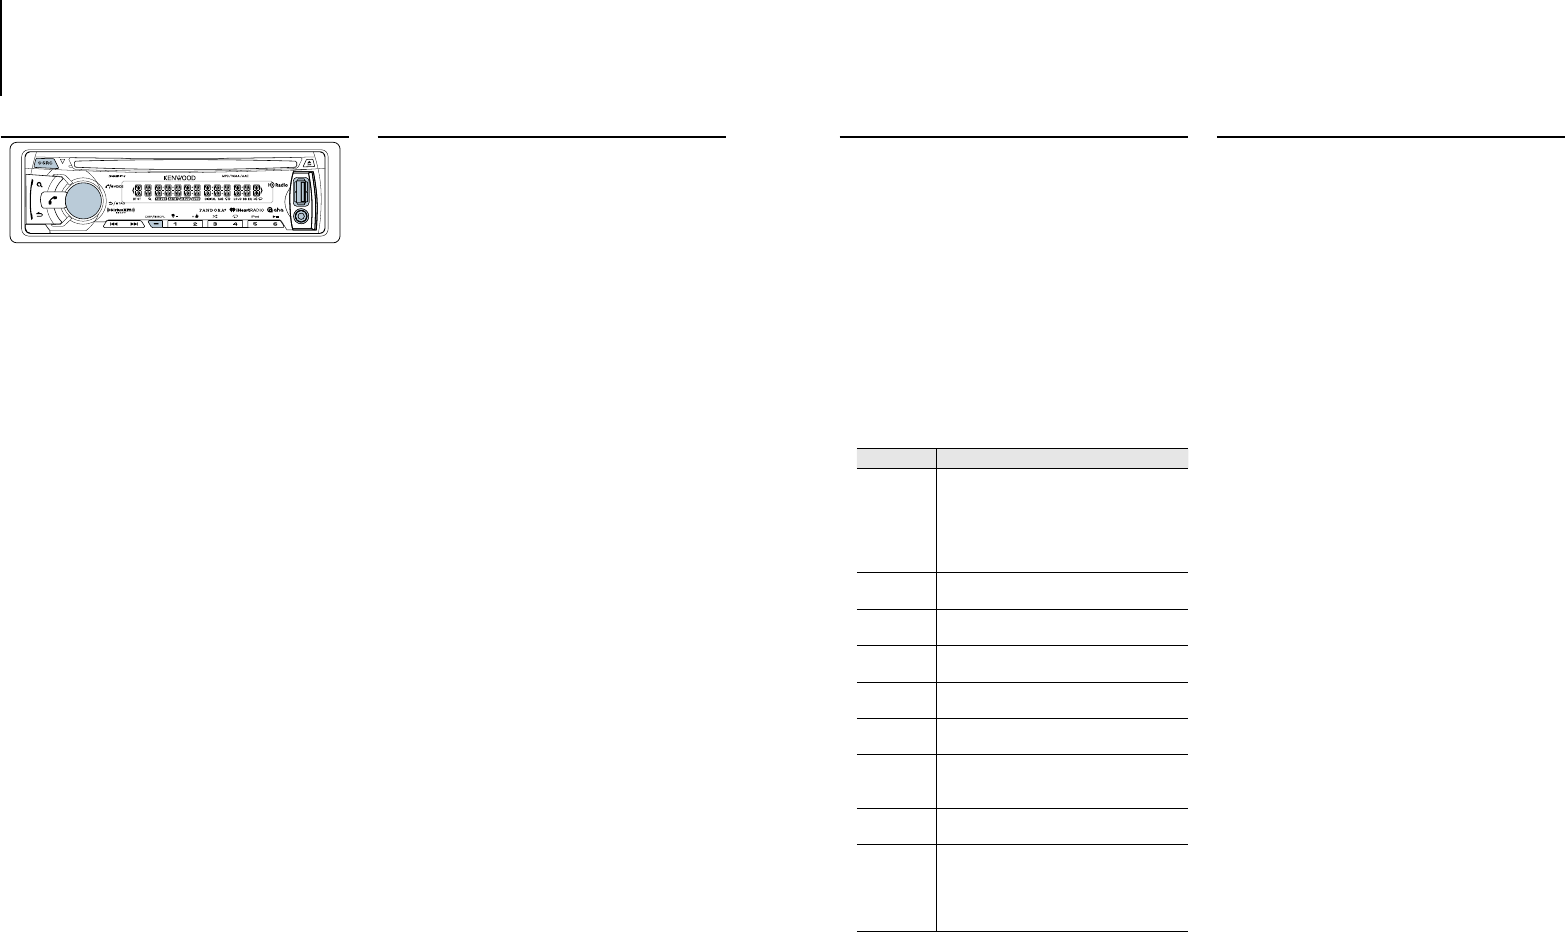
KDC-X797/ KDC-BT755HD
English
|
11
3.3 Changing the initial settings
You can change an initial setting item(s) according
to your viewing or listening preference
Press [8SRC] to select
STANDBY
.
Press the volume knob to enter Function
mode.
“FUNCTION” appears.
Turn the volume knob to select
INITIAL SET
,
then press the knob.
Turn the volume knob to select a desired
setting item, then press the knob.
- See table below for selection.
- Press [ 6 ] to return to the previous item.
Press and hold [6] to exit.
Item Description
PRESET TYPE NORMAL: Memorizes one station or channel for each
preset button in each band (FM1/ FM2/ FM3/ AM/
SXM1/ SXM2/ SXM3/ SXM4). ;
MIX: Memorizes one station or channel for each preset
button regardless of the selected band (FM1/ FM2/
FM3/ AM/ SXM1/ SXM2/ SXM3/ SXM4).
KEY BEEP ON/ OFF: Activates/deactivates tone emission when
a key is pressed.
PANDORA SRC ON/ OFF: Select whether to display Pandora during
source selection.
IHEART SRC ON/ OFF: Select whether to display iHeartRadio
during source selection.
AHA SRC ON/ OFF: Select whether to display aha during source
selection.
BUILT-IN AUX ON: Enables AUX in source selection. ;
OFF: Disables.
CD READ “1”: Automatically distinguishes between audio file
disc and music CD. ; “2”: Forces to play as a music CD.
No sound can be heard if an audio file disc is played.
SP SELECT OFF / 5/4 / 6×9/6 / OEM: Select the speaker size for
optimum performance.
F/W UPDATE Upgrades the firmware.
YES: Starts upgrading the firmware. ;
NO: Does not upgrade firmware.
For details on how to update the firmware, see: www.
kenwood.com/cs/ce/
(Colored text: Factory setting)
3.4 Setting the demonstration mode
Press the volume knob to enter Function
mode.
“FUNCTION” appears.
Turn the volume knob to select
DEMO MODE
,
then press the knob.
Turn the volume knob to select
ON
or
OFF
.
If “ON” is selected, display demonstration starts if no
operation is done for about 20 seconds.
Press and hold [6] to exit.
3. GENERAL
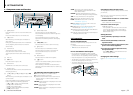
3.1 Basic operations
Turning the power ON/OFF
Press and hold [8SRC] to turn the power on.
Press and hold [8SRC] to turn the power o.
Selecting a source
Press [8SRC] repeatedly to select your desired
source.
SiriusXM*
1
(“SIRIUS XM”) Á HD Radio (“HD RADIO”)
Á USB or iPod*
2
(“USB” or “iPod”) Á Pandora*
3
(“PANDORA”) Á iHeartRadio*
3
(“IHEARTRADIO”) Á
Aha*
3
(“AHA”) Á Bluetooth audio (“BT AUDIO”) Á
CD*
2
(“CD”) Á Auxiliary input*
3
(“AUX”) Á Standby
(“STANDBY”)
*
1
This source can be selected only when connected to an
optional SiriusXM Vehicle Connect Tuner.
*
2
This source can be selected only when it can be played.
*
3
“PANDORA”, “IHEARTRADIO”, “AHA”, and “AUX” sources are
not selectable when not in use. See <3.3 Changing the
initial settings> (page 11).
Adjusting the volume
Turn the volume knob to adjust the sound
volume.
Switching display
Press [SCRL DISP] repeatedly to select an
information.
Press and hold [SCRL DISP] to scroll the current
display information.
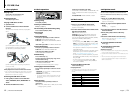
USB terminal
Open the cover.
Connect a USB device or iPod.
CA-U1EX or KCA-iP102 (optional accessories) is
recommended to connect a USB device or iPod.
Auxiliary input
Open the cover.
Connect a portable audio device using a
stereo mini-plug (3.5 mm ø) audio cable.
3.2 Adjusting the clock
Press the volume knob to enter Function
mode.
“FUNCTION” appears.
Turn the volume knob to select
SETTINGS
,
then press the knob.
Turn the volume knob to select
CLOCK
, then
press the knob.
Turn the volume knob to select
CLOCK
ADJUST
, then press the knob.
Turn the volume knob to adjust the hour, then
press to enter minute adjustment.
Turn the volume knob to adjust the minute,
then press the knob.
- Press [E] / [F] to move between the hour
and minute adjustment.
Press and hold [6] to exit.
Setting the clock
Press the volume knob to enter Function
mode.
“FUNCTION” appears.
Turn the volume knob to select
SETTINGS
,
then press the knob.
Turn the volume knob to select
CLOCK
, then
press the knob.
Turn the volume knob to select
TIME SYNC
,
then press the knob.
Turn the volume knob to select
ON
or
OFF
,
then press the knob.
”ON”: Synchronizes the unit’s time to the Radio
Data Broadcast System station time.
“OFF”: Cancels the usage of Radio Data Broadcast
System station time.
Press and hold [6] to exit.


Find Your Products By Category
Please Login
