
0
Owner's of the Viking Gas Grill VGBQ5304RE1L gave it a score of 0 out of 5. Here's how the scores stacked up:

Operation
13
12
Operation
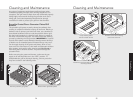
Lighting Grill
Lighting TruSear™ Infrared Burner (If Applicable)
Before lighting the burner, remove the stainless steel cover.
Push in and turn the TruSear™ infrared control knob until the
“HIGH” position on the knob aligns with the indicator line on
the control panel. Press the electronic ignition button that
corresponds to the control knob. You will hear a clicking
sound. Once lit, turn the control knob to the desired setting.
If the burner does not light within 4 seconds, release and
turn the control knob to “OFF.” Wait 5 minutes for any
accumulated gas to dissipate and try again. After several
failed attempts, the burner may be lit by turning the control
knob to “HIGH” and dropping a match on the face of the
burner. If the burner does not immediately ignite, turn the
knob to “OFF”, wait 5 minutes and try again.
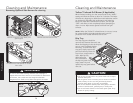
Lighting Side Burners
First, remove the burner cover or any cooking utensil from the
burner grate.
Push and turn the control knob until the “HIGH” position
aligns with the indicator line on the control panel.
Immediately press the electronic ignition button
corresponding to the burner(s) being lit until the burner is
lit or until 4 seconds pass. If the burner does not light
after several attempts, wait five minutes to allow any
accumulated gas to dissipate. If the burner will not light after
several attempts, then the burner can be lit by holding a lit
match next to the burner ports. Push and turn the control
knob until the “HIGH” position on the knob aligns with the
indicator line on the control panel.
CAUTION
The side burner cover may be hot if the grill burners are in
operation.
Lighting Grill
T-Series Models
When lighting a burner, always pay close attention to what
you are doing. Be certain you are pressing the battery
ignition button (T-Series only) corresponding to the burner
you are lighting.
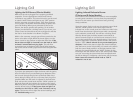
Lighting Grill Burners
Open the hood or remove covers. Push and turn the control
knob until the “HIGH” position on the knob aligns with the
indicator line on the control panel. Press the electronic
ignition button corresponding to the burner being lit. You
will hear a clicking sound. Turn the control knob to the
desired setting. If the burner does not light in 4 seconds,
turn the knob to “OFF” and wait 5 minutes before trying
again. This will allow accumulated gas to dissipate. After
several failed attempts the burner can be lit with a paper
book match using the flash tubes. If you have just attempted
to light the burner with the ignitor, allow 5 minutes for any
accumulated gas to dissipate.
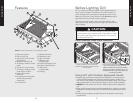
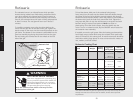
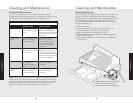
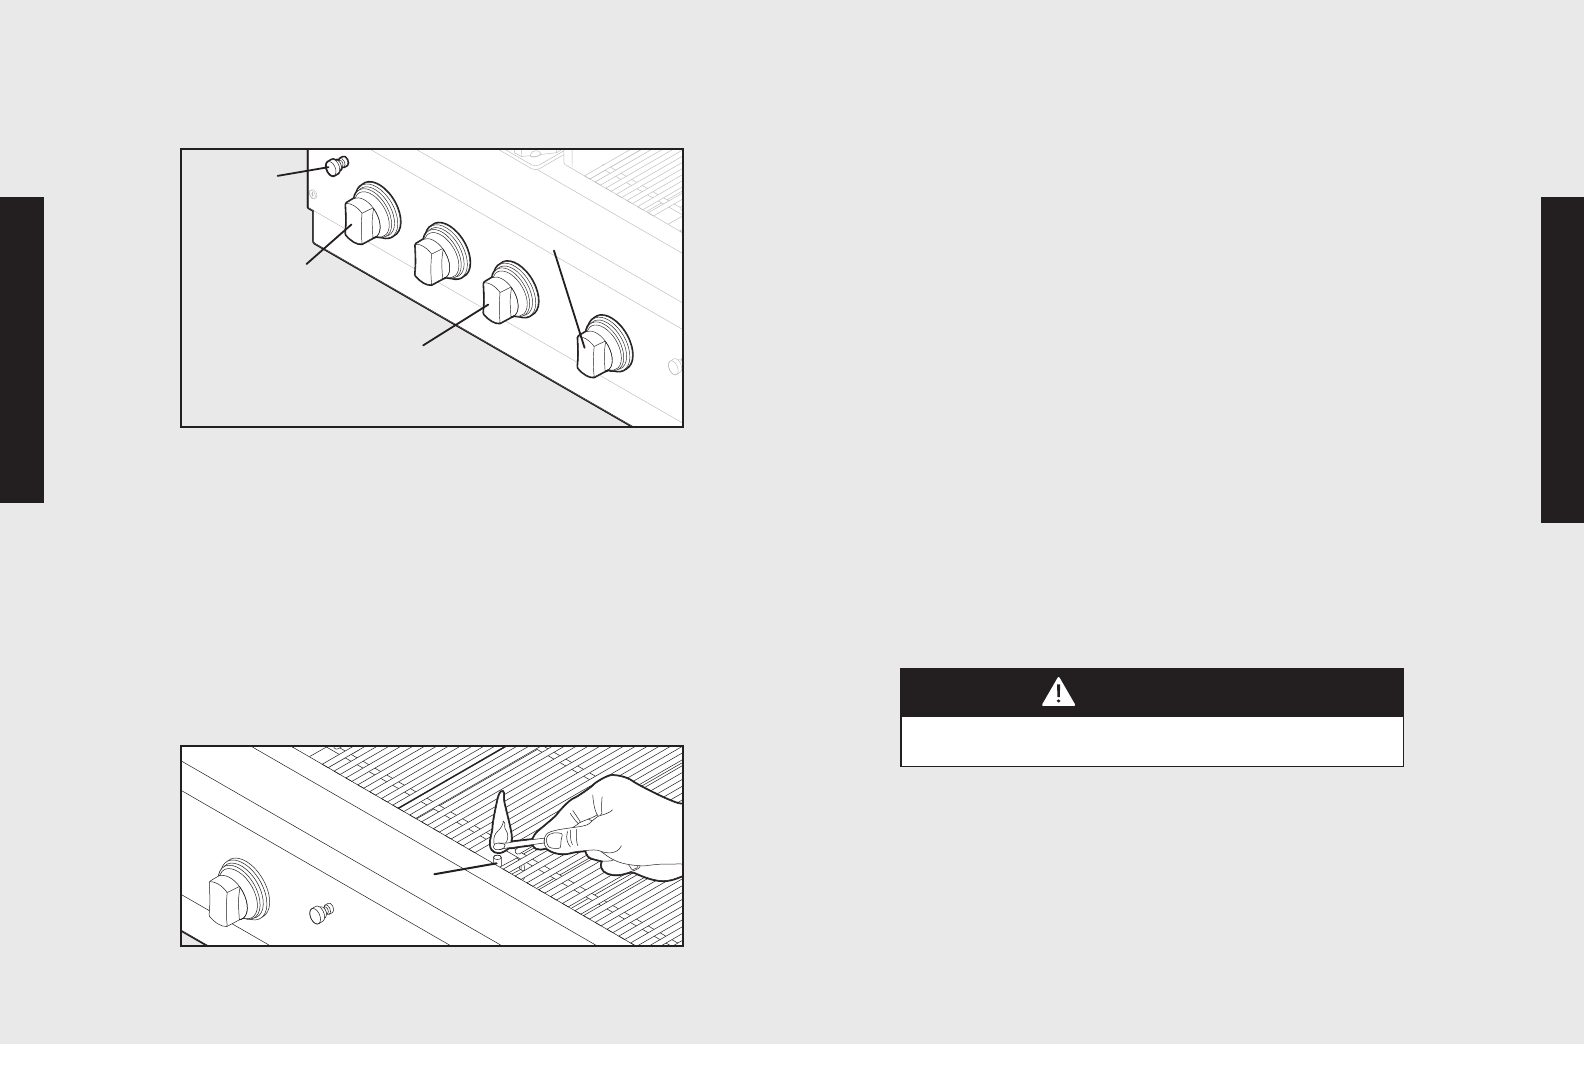
Electronic
ignitor
Side burner
control knob
NOTE: Control locations
will vary according to model.
Grill burner
control knob
Rotisserie
control knob
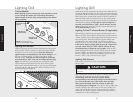
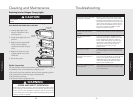
Flash tubeFlash tubeFlash tube
Place the lit match through the grid next to the flash tube of
the burner being lit. Keep your face as far away from the grill
as possible. Make sure the match is adjacent to the flash tube.
Push and turn the control knob until the “HIGH” position on
the knob aligns with the indicator line on the control panel.
Make sure you are turning the control knob that corresponds
with the burner being lit. If the burner does not light in 4
seconds, turn the knob to “OFF,” wait 5 minutes, and try
again. If the burner will not light after several attempts, see
the Troubleshooting section.


Find Your Products By Category
Please Login
