
0
Owner's of the KitchenAid Gas Grill KBNS271TSS gave it a score of 0 out of 5. Here's how the scores stacked up:

28
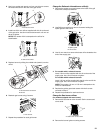
8. Check that food is centered with the rotisserie burner. If not,
loosen wing nuts, reposition food and retighten wing nuts.
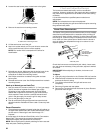
9. Plug into a grounded 3 prong outdoor GFI outlet.
■ To avoid electrical shock, do not immerse cord or plugs in
water or other liquid.
■ Unplug from the outlet when not in use and before
cleaning. Allow to cool before putting on or taking off
parts.
■ Do not operate any outdoor cooking gas appliance with a
damaged cord, damaged plug, or after the appliance
malfunctions or has been damaged in any manner.
Contact the manufacturer for repair.
■ Do not let the cord hang over the edge of a table or touch
hot surfaces.
■ Do not use an outdoor cooking appliance for purposes
other than intended.
■ When connecting, first connect plug to the outdoor
cooking gas appliance then plug appliance into the outlet.
■ Use only a Ground Fault Interrupter (GFI) protected circuit
with this outdoor cooking gas appliance.
■ Do not remove the ground prong or use with an adapter
of 2 prongs.
10. Turn on the rotisserie motor and light the rotisserie burner.
See the following “Lighting the Rotisserie Burner” section.
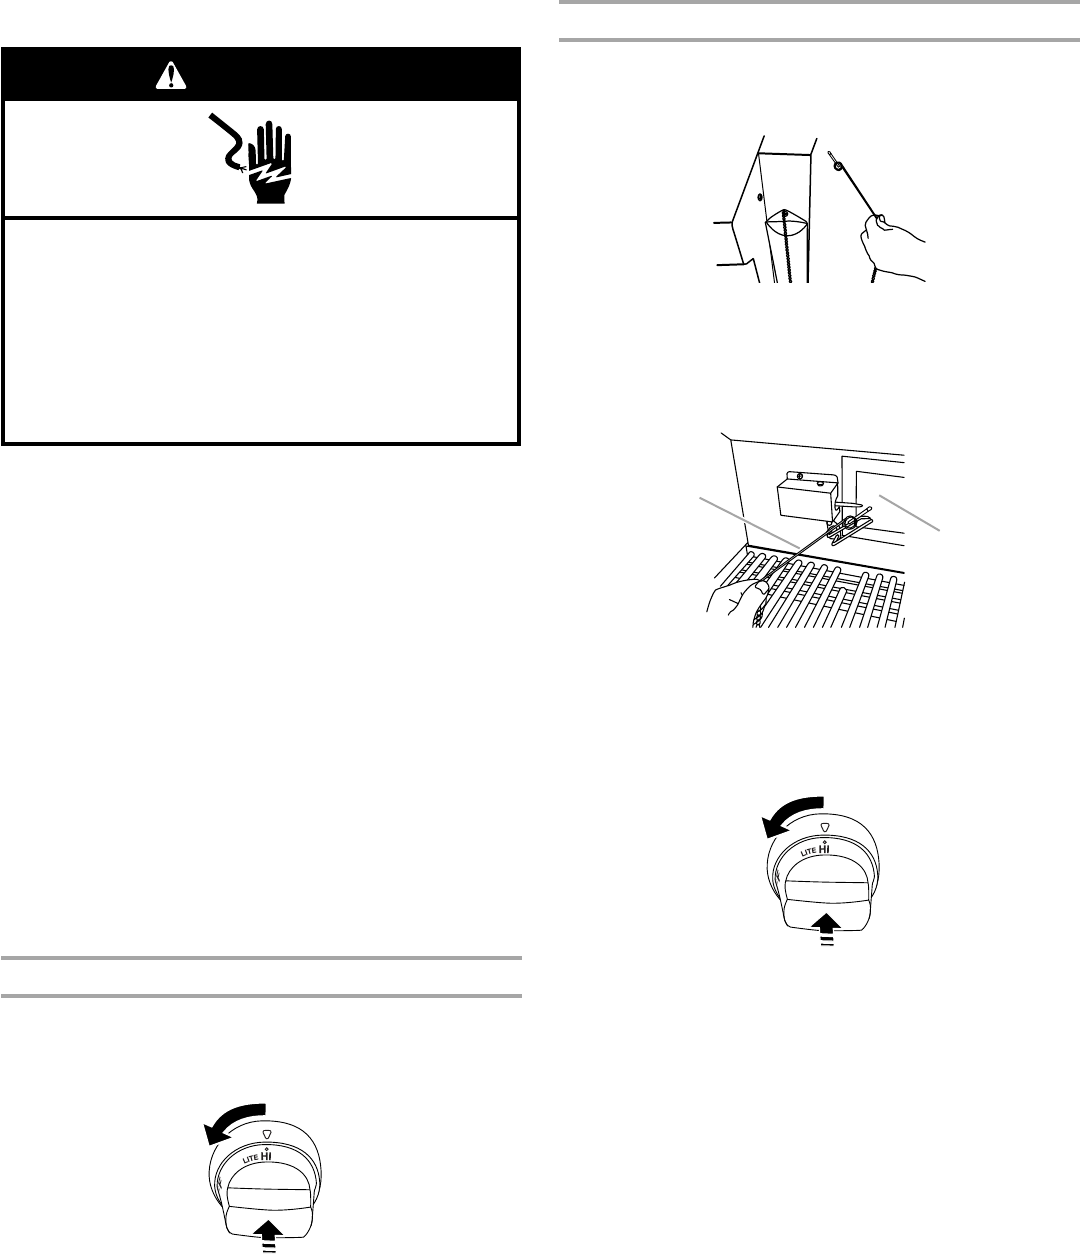
Lighting the Rotisserie Burner
1. Do not lean over the grill.
2. Push in and turn the control knob to LITE/HI. You will see the
igniter glow or hear the “snapping” sound of the spark
(depending on your model).
3. When the rotisserie burner lights, continue to hold the knob in
for another 10 seconds, then release the knob and burner will
stay lit.
IMPORTANT: If the rotisserie burner does not light immediately,
turn the burner knob to OFF and wait 5 minutes before relighting.
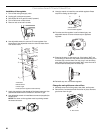
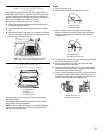
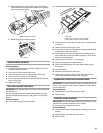
Manually Lighting the Rotisserie Burner
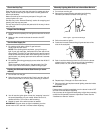
1. Do not lean over the grill.
2. Remove the manual lighting extension (see following
illustration) and attach a match to the split ring.
3. Strike the match to light it.
4. Gently hold the lit match close to the rotisserie burner.
5. Push in and turn the control knob to LITE/HI. Hold this knob
in for 10 seconds after the burner is lit. You may see the
igniter glow or hear the “snapping” sound of the spark
(depending on your model) until after the knob is released.
IMPORTANT: If the rotisserie burner does not light
immediately, turn the rotisserie burner control knob to “OFF”
and wait 5 minutes before relighting.
6. Remove the match and replace the manual lighting extension
inside the plastic pouch.
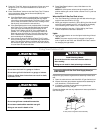
Electrical Shock Hazard
Plug into a grounded 3 prong outlet.
Do not remove ground prong.
Do not use an adapter.
Do not use an extension cord.
Failure to follow these instructions can result in death,
fire, or electrical shock.
WARNING
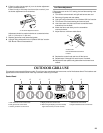
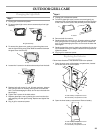
Built-in grills - right-hand side flange
A. Lighting extension
B.Rotisserie burner
A
B


Find Your Products By Category
Please Login
