
0
Owner's of the Kenwood GPS Receiver DNX772BH gave it a score of 0 out of 5. Here's how the scores stacked up:


18 ñ English
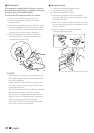
• Reception may drop if there are metal objects near
the Bluetooth antenna.
Bluetooth antenna unit
R-CAM
DNX8
DNX7
DNX6
DNX5/4
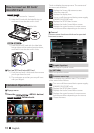
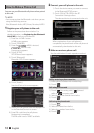
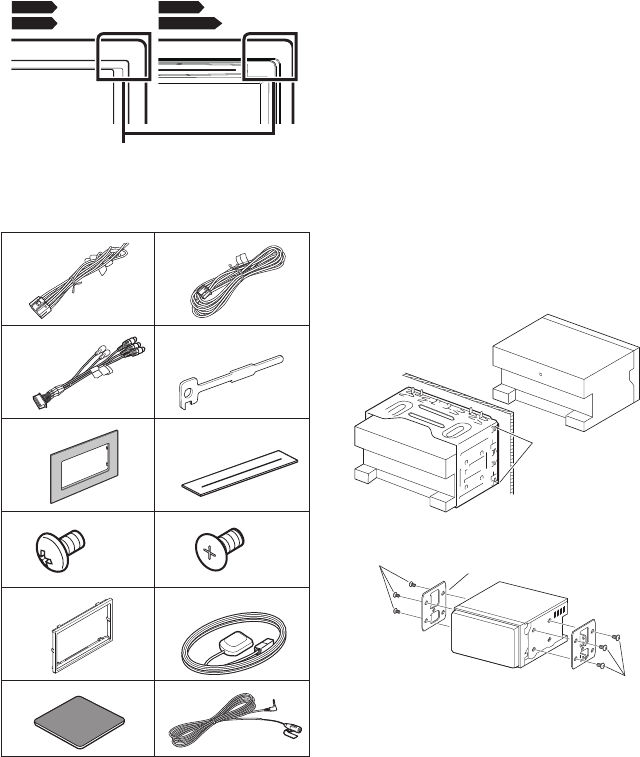
ÑSupplied accessories
First of all, make sure that all accessories are
supplied with the unit.
1
x1
2
(2 m)
x1
3
[1]
x1
4
[3]
x2
5
[2]
x1
6
[2]
x4
7
(M5x6mm)
x6
8
(M5x7mm)
x6
9
[3]
x1
0
(3.5 m)
x1
-
x1
=
(3 m)
x1
[1]
DNX892, DNX7150BT, DNX772BH only
[2]
DNX892 only
[3]
DNX892, DNX7150BT, DNX692, DNX4150BT only
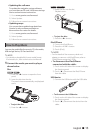
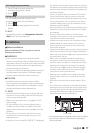
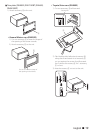
ÑUnit
1) To prevent a short circuit, remove the key from
the ignition and disconnect the ¤ terminal of
the battery.
2) Make the proper input and output wire
connections for each unit.
3) Connect the speaker wires of the wiring harness.
4) Connect the wiring harness wires in the
following order;
ground, battery, ignition.
5) Connect the wiring harness connector to the
unit.
6) Install the unit in your car.
7) Reconnect the ¤ terminal of the battery.
8) Press the <Reset> button. (P.4)
9) Perform the Initial Setup.
See First Step (P.6).
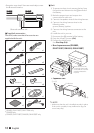
Non-Japanese cars (DNX892,
DNX7150BT, DNX692, DNX4150BT)
Bend the tabs of the
mounting sleeve with
a screwdriver or similar
utensil and attach it
in place.
Japanese cars
7 or 8
7 or 8
Car Bracket
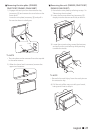
✎ NOTE
• Make sure that the unit is installed securely in place.
If the unit is unstable, it may malfunction (eg, the
sound may skip).


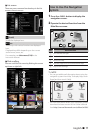
Find Your Products By Category
Please Login
