
0
Owner's of the JVC Flat Panel Television JVC Emerald Series LED HDTV gave it a score of 0 out of 5. Here's how the scores stacked up:
34
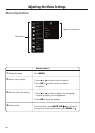
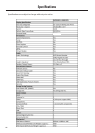
Adjusting the Menu Settings
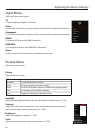
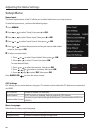
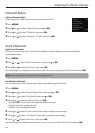
Channel Menu
Select Antenna/Cable
Select Antenna or Cable for the service connected to your TV.
1 Press MENU.
2 Press or to select “Channel”, then press or OK.
3 Press or to select “TV Mode”, then press OK.
4 Press or to select “Antenna”, or “Cable”, then press OK.
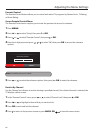
Scan Channels
Auto Scan Channels
When you run auto scan, the TV scans for all available channels. Make sure the antenna/cable is
connected properly.
1 Press MENU.
2 Press or to select “Auto Channel Scan”, then press or OK.
3 Press or to select “Start Scan”, then press OK.
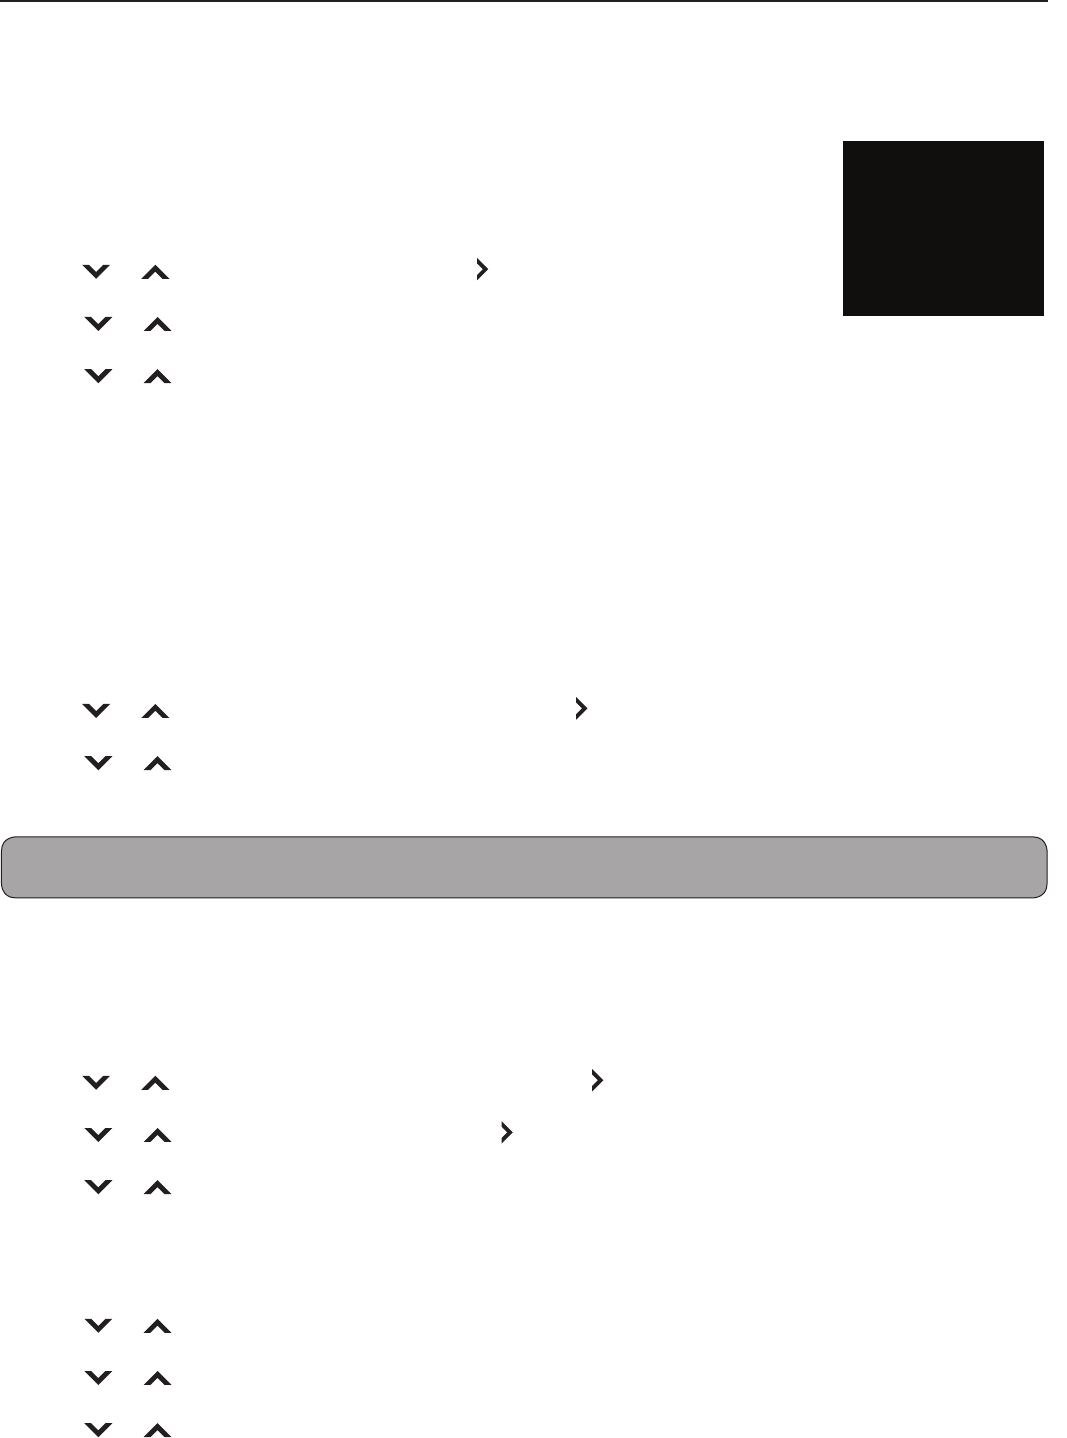
Scanning progress is displayed on the menu screen. To stop scanning, select “Stop Scan” and press OK.
Note: Auto scan may take 15 to 30 minutes to nd available channels.
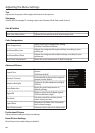
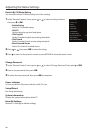
Partial Scan Channels
You can partially scan for network signal within a specied range of channels.
1 Press MENU.
2 Press or to select “Partial Channel Scan”, then press or OK.
3 Press or to select “Scan Mode”, then press or OK.
4 Press or to select an option, then press OK.
• “Analog/Digital”: Scans for both analog and digital channels.
• “Analog”: Scans for analog channels.
• “Digital”: Scans for digital channels.
5 Press or to select “From Channel”, then enter a starting channel range.
6 Press or to select “To Channel”, then enter an ending channel range.
7 Press or to select “Start Scan”, then press OK.
Scanning progress is displayed on the menu screen. To stop scan, select “Stop Scan” and press OK.
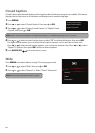
TV Mode
Cable
English
Auto Channel Scan
Partial Channel Scan
Find Channel
Channel Management
Digital MTS


Find Your Products By Category
Please Login
