

0
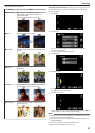
Owner's of the JVC Camcorder JCV Everio High Definition Digital Camcorder gave it a score of 0 out of 5. Here's how the scores stacked up:
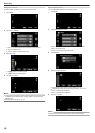
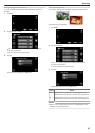

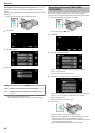
OFF Deactivates the function.
FACE
TRACKING
e appears on the screen. Recording is performed
while tracking and automatically adjusting the tapped
face (subject) with appropriate focus and brightness. In
addition, a blue frame appears around the tapped face
(subject).
COLOR
TRACKING
f appears on the screen. Recording is performed
while tracking and automatically adjusting the tapped
color (subject) with appropriate focus and brightness. In
addition, a blue frame appears around the tapped color
(subject).
AREA
SELECT
g appears on the screen. Recording is performed
while automatically adjusting the tapped area (fixed
position) with appropriate focus and brightness. In
addition, a white frame appears around the tapped area.
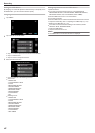
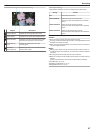
Memo :
0
When “TOUCH PRIORITY AE/AF” is set, “FOCUS” will be set to “AUTO”
automatically.
0
If the camera loses track of a subject, tap the subject again.
0
Settings are canceled when zoom operation is performed. (“AREA
SELECT” only)
0
When “COLOR TRACKING” is set, the targeted subject (color) may
change if similar colors are detected. In this case, tap the subject again.
The targeted subject (color) may also be tracked back again if it appears
in the center of the screen within a specific time.
Caution :
0
Subjects near the sides of the LCD monitor may not respond or be
recognized when tapped. In this case, move the subject to the center and
tap again.
0
“COLOR TRACKING” may not function properly in the following cases:
- when recording subjects with no contrast
- when recording subjects that are moving at high speed
- when recording in a dark place
- when the surrounding brightness changes
0
When “FACE TRACKING” is set, the subject may be lost if the camera is
moved vertically or horizontally very fast. To track back the subject, tap on
it again.
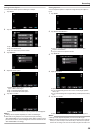
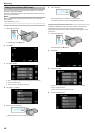
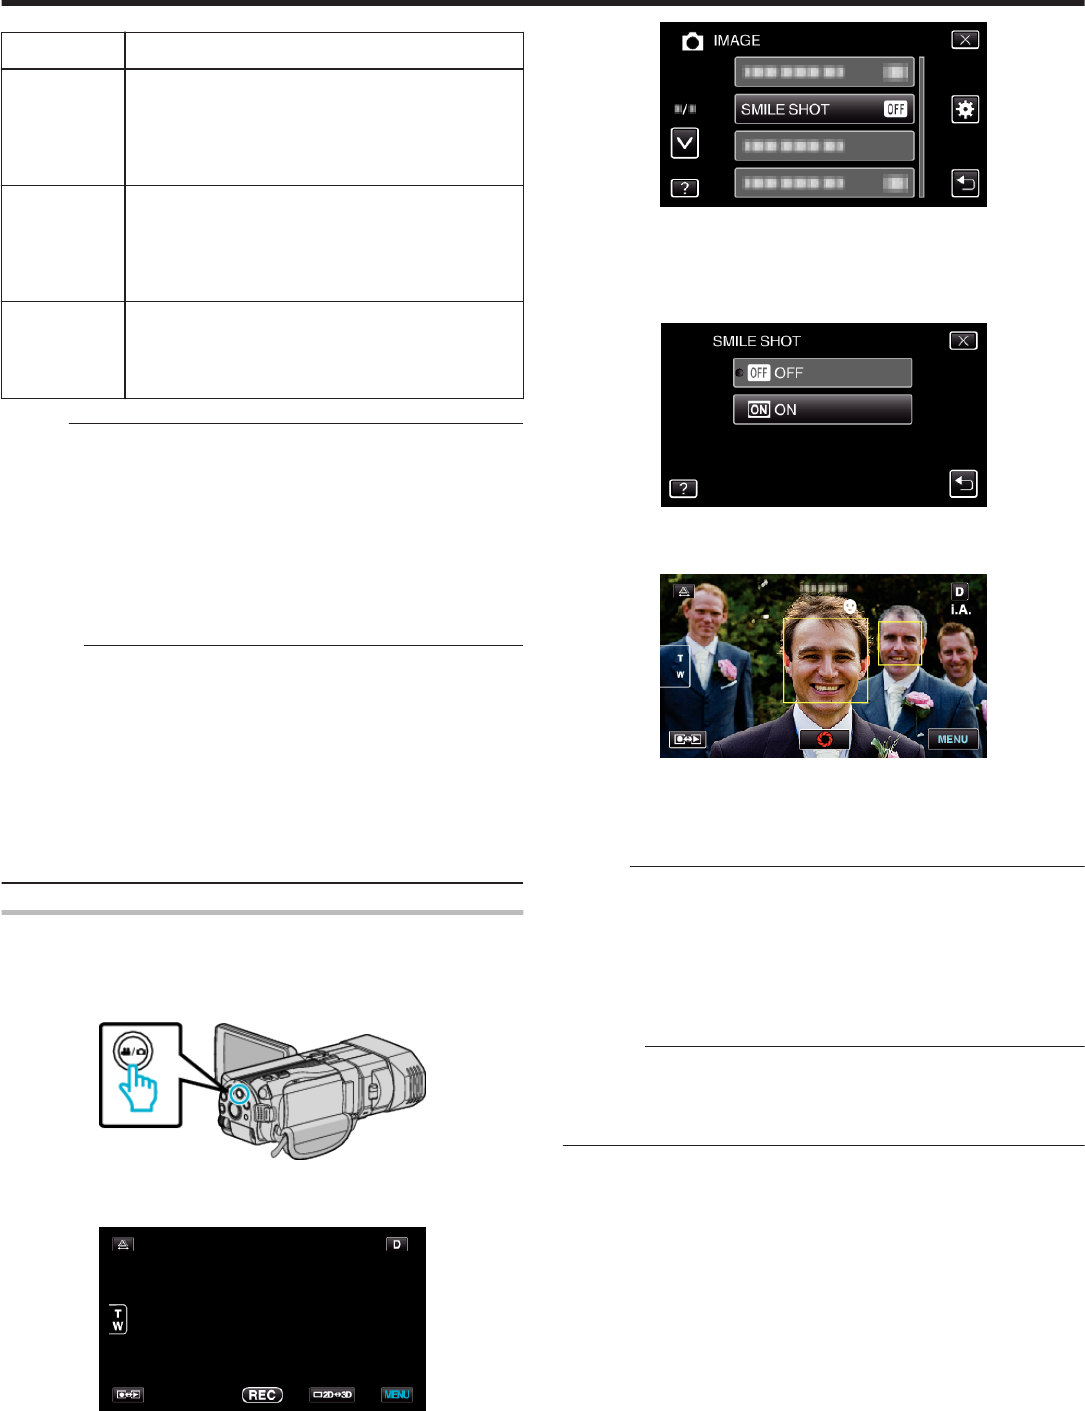
Capturing Smiles Automatically (SMILE SHOT)
“SMILE SHOT” automatically captures a still image upon detection of a
smile.
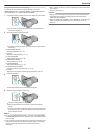
1
Select still image mode.
.
0
The still image mode icon appears.
2
Tap “MENU”.
.
3
Tap “SMILE SHOT”.
.
0
Tap ∧ or ∨ to move upward or downward for more selection.
0
Tap L to exit the menu.
0
Tap J to return to the previous screen.
4
Tap “ON”.
.
5
Point the camera toward the human subject.
0
A still image is automatically captured when smiles are detected.
.
0
PHOTO lights up when a still image is being captured.
0
You can display the smile level (%) together with the frame by setting
“SMILE LEVEL” in the menu to ON before recording.
“Setting SMILE LEVEL Display (Still image only)” (A p. 46)
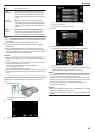
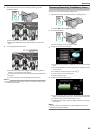
Memo :
0
The camera is able to detect up to 16 faces. Smile levels will be displayed
for up to 3 of the largest faces displayed on the screen.
0
This function may not work properly depending on the shooting conditions
(distance, angle, brightness, etc.) and the subject (direction of face, smile
level, etc.). It is also difficult to detect a smile in backlight.
0
After a smile is detected and captured, it takes time before the next
recording may be performed.
Caution :
0
When “TOUCH PRIORITY AE/AF” is set to “AREA SELECT” or “COLOR
TRACKING”, “SMILE SHOT” does not work.
0
If appropriate results cannot be obtained, record with “SMILE SHOT” set
to “OFF”.
Recording
45


Find Your Products By Category
Please Login
