
0
Owner's of the Garmin GPS Receiver Garmin GPS gave it a score of 0 out of 5. Here's how the scores stacked up:


2
Go to www.garmin.com/express.
3
Follow the on-screen instructions.
nüMaps Guarantee
™
Your device may be eligible for a free map update within 90
days of first acquiring satellites while driving. Go to
www.garmin.com/numaps for terms and conditions.
Lifetime Subscriptions
Some models include subscriptions to lifetime features. For
more information, go to www.garmin.com/lmt.
LT: This model includes a lifetime traffic subscription and a
traffic receiver.
LM: This model includes a nüMaps Lifetime
™
subscription, which
provides quarterly map updates for the useful life of your
device. For terms and conditions go to www.garmin.com/us
/maps/numaps_lifetime.
LMT: This model includes a nüMaps Lifetime subscription,
lifetime traffic subscription, and a traffic receiver.
LMTHD or LMT-D: This model includes a nüMaps Lifetime
subscription, lifetime digital traffic subscription, and a digital
traffic receiver.
Activating Lifetime Maps
NOTE: Lifetime Maps are not applicable to products that do not
have pre-loaded maps.
NOTE: Lifetime Maps entitle you to receive map updates when
and as such updates are made available by Garmin during the
useful life of one compatible Garmin product or as long as
Garmin receives map data from a third party supplier, whichever
is shorter. For the meaning of a product’s “useful life” and for
other important terms and conditions, go to www.garmin.com
/numapslifetime.
1
Go to www.garmin.com/express.
2
Follow the on-screen instructions.
NOTE: If you register the device, you can receive e-mail
notifications when a map update is available.
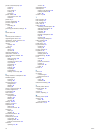
Updating Maps and Software with Garmin Express
You can use Garmin Express software to download and install
the latest map and software updates for your device. Map
updates provide the latest available mapping data to ensure
your device continues to calculate accurate and efficient routes
to your destinations. Garmin Express is available for Windows
®
and Mac
®
computers.
1
On your computer, go to www.garmin.com/express.
2
Select an option:
• To install on a Windows computer, select Download for
Windows.
• To install on a Mac computer, select Mac Version.
3
Open the downloaded file, and follow the on-screen
instructions to complete the installation.
4
Start Garmin Express.
5
Connect your Garmin device to your computer using a USB
cable.
The Garmin Express software detects your device.
6
Enter an email address for product registration (optional).
7
Click save device.
8
Click check for updates.
A list of available map and software updates appears.
9
Select the updates to install.
10
Click Install Now.
The Garmin Express software downloads and installs the
updates onto your device. Map updates are very large, and this
process may take a long time on slower Internet connections.
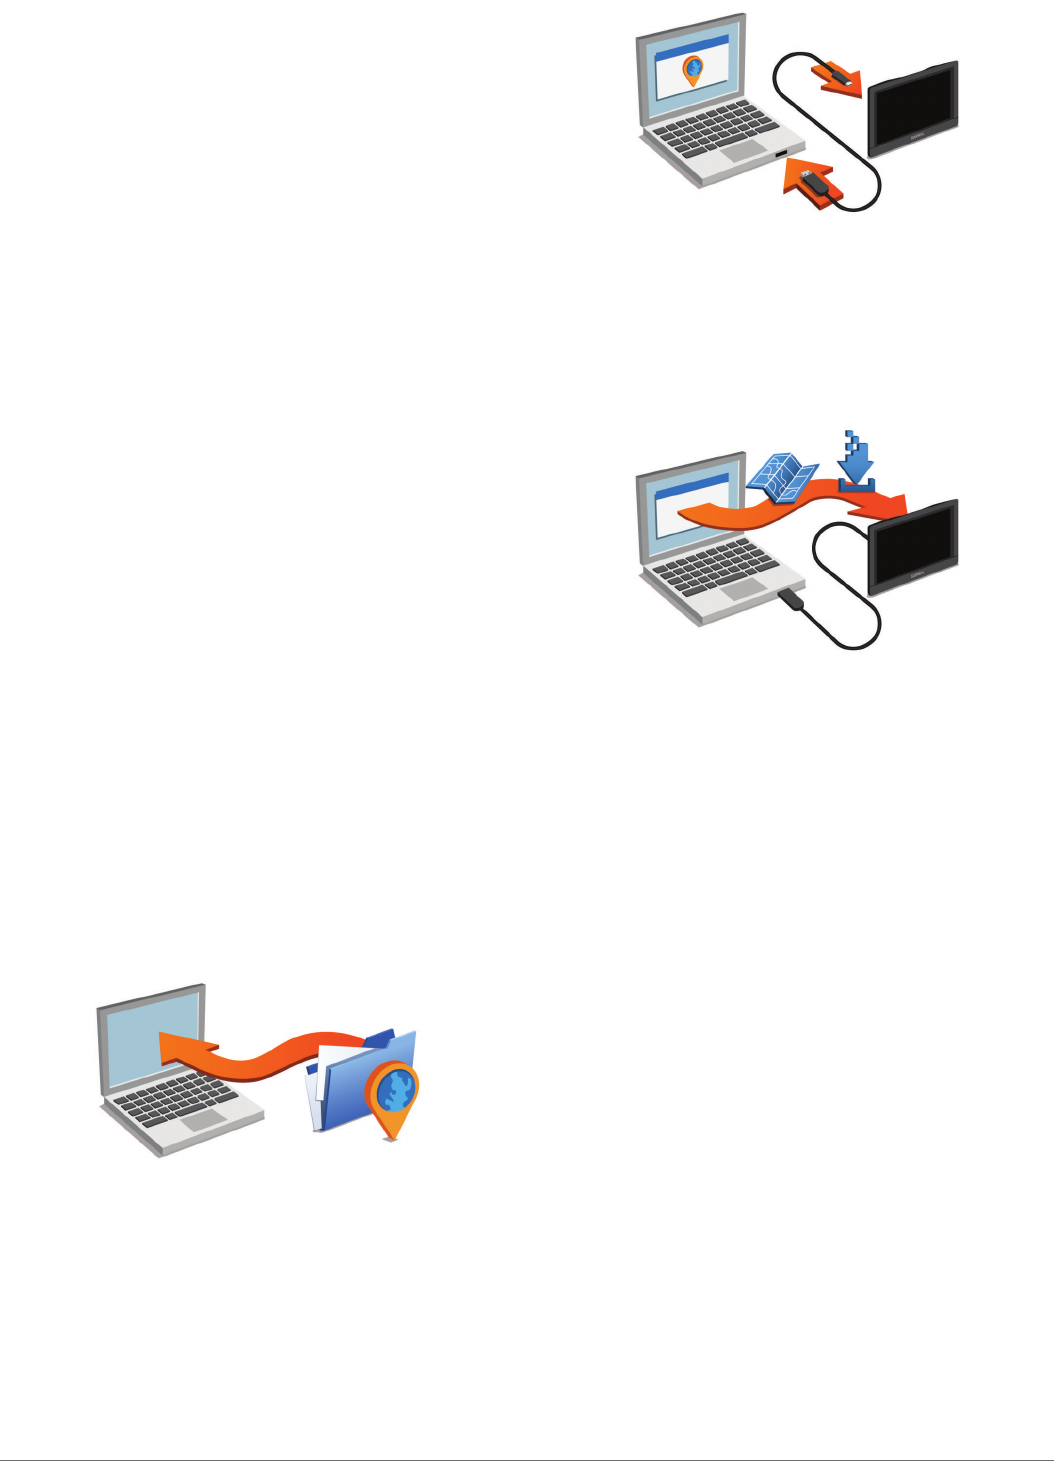
Data Management
You can store files on your device. The device has a memory
card slot for additional data storage.
NOTE: The device is not compatible with Windows 95, 98, Me,
Windows NT
®
, and Mac OS 10.3 and earlier.
File Types
The device supports these file types.
• Maps and GPX waypoint files from myGarmin mapping
software, including MapSource
®
, BaseCamp
™
, and
HomePort
™
(Custom Points of Interest).
• GPI custom POI files from Garmin POI Loader (Installing POI
Loader).
About Memory Cards
You can purchase memory cards from an electronics supplier,
or purchase pre-loaded Garmin mapping software
(www.garmin.com). In addition to map and data storage, the
memory card can be used to store files such as maps, images,
geocaches, routes, waypoints, and custom POIs.
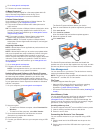
Installing a Memory Card
The device supports microSD
™
and microSDHC memory cards.
1
Insert a memory card into the slot on the device.
2
Press it in until it clicks.
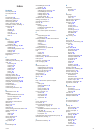
Connecting the Device to Your Computer
You can connect the device to your computer using a USB
cable.
1
Plug the small end of the USB cable into the port on the
device.
2
Plug the larger end of the USB cable into a port on your
computer.
18 Appendix


Find Your Products By Category
Please Login
