

0
Owner's of the Denon Car Stereo System RCD-N7 gave it a score of 0 out of 5. Here's how the scores stacked up:


13
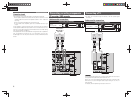
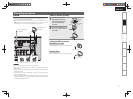
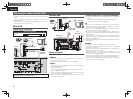
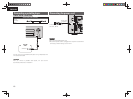
Getting Started Connections
Advanced ConnectionsBasic OperationsBasic Operations Advanced Operations TroubleshootingExplanation termsInformation Specifi cations Index
ENGLISH
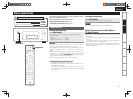
CD playback
This section explains how to playback CDs.
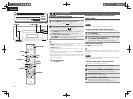
Before playing a disc
1
Press ON/STANDBY.
2
Press <SOURCE> and ui to select to “ ”, then
press
[ENTER]
, <1/3
ENTER
> or p, or press [CD].
If no disc is loaded “No Disc” is displayed.
3
Insert a disc (vpage 3).
• Press <5> to open/close the disc tray.
• The disc tray also closes when <1/3 ENTER> or [1/3] is
pressed.
NOTE
• Do not place any foreign objects in the disc tray. Doing so could
damage it.
• Do not push the disc tray in by hand when the power is turned off.
Doing so could damage the set.
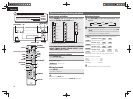
Playing CDs
Press <1/3
ENTER
> or [1/3].
The “1” indicator lights and playback begins.
• If the input source is set to something other than “ ”, press [CD]
to switch the input source to “ ”.
• The input source can also be switched to “ ” using <SOURCE>
(vpage12).
n Stopping playback
Press [2].
n Stopping playback temporarily
Press <1/3 ENTER> or [1/3].
3 is displayed.
• To resume playback, press <1/3 ENTER> or [1/3].
n Fast-forwarding and fast-reversing (searching)
During playback, press and hold in [6, 7].
n Moving to the beginning of tracks (skipping)
During playback, press [8, 9] or <o p>.
• The disc skips as many tracks as times the button is pressed.
• When you press reverse once, playback returns to the beginning
of the current track.
n To play the desired track (remote control only)
Press [NUMBER] (0 – 9, +10) to select the track.
GExampleH Track 4 : [4]
GExampleH Track 12 : [+10], [2]
GExampleH Track 20 : [+10], [+10], [0]
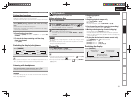
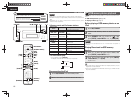
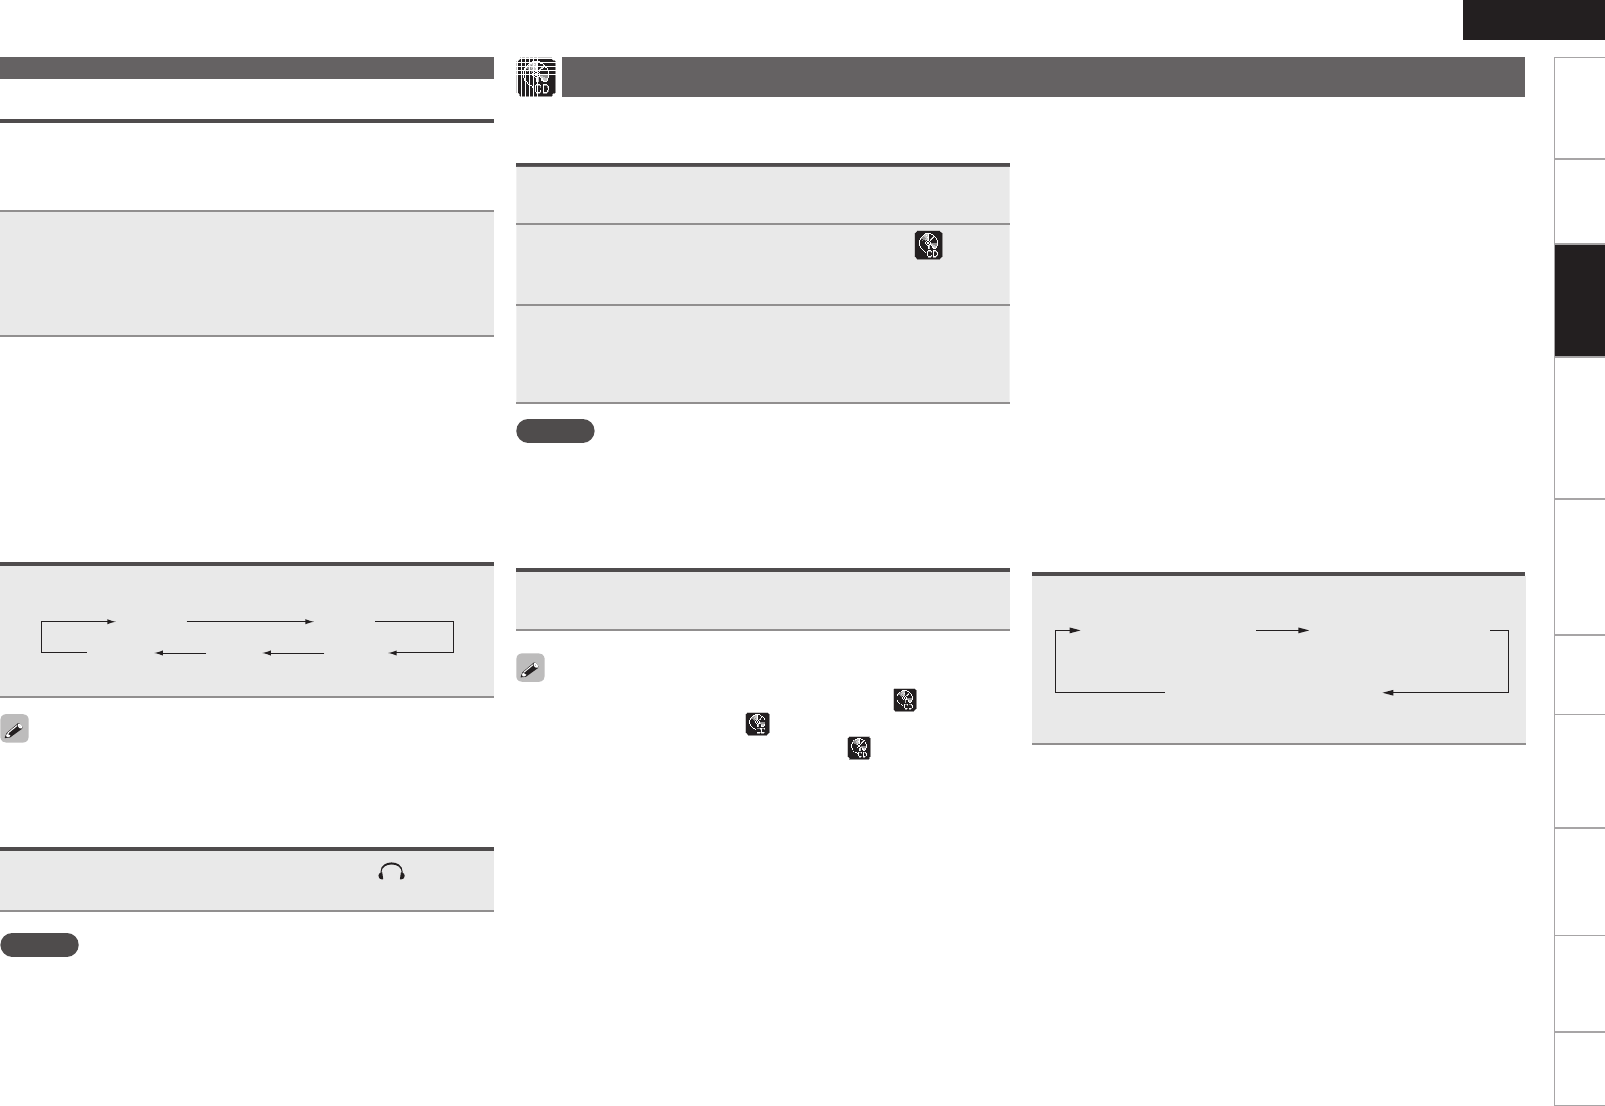
Switching the display
Press [DISPLAY].
Elapsed time of
current track
Remaining time
of current track
Remaining time for
all remaining tracks
• The display switches each time the button is pressed.
Setting the sleep timer
Use this function to automatically switch the power to the standby
mode after a specifi c amount of time (minutes).
The sleep timer can be set to up to 90 minutes, in steps of 10 minutes.
Press [SLEEP] during playback and select the setting
time.
• Press the button to select the setting time.
• After about 5 seconds, the setting is entered and the display
returns to as it was before.
n Canceling the sleep timer
Either press [SLEEP] to select “Sleep1OFF” or press ON/
STANDBY
.
n To check the time remaining until the sleep
timer is activated
Press [SLEEP].
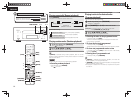
Switching the display’s brightness
Press [DIMMER].
100% 75%
50%25%Off
• The display’s brightness switches each time the button is pressed.
If you operate the buttons when the display’s brightness is set to
“Off”, the display temporarily lights at 25% brightness level.
Listening with headphones
Plug the headphones (sold separately) into < >.
• The sound from the speakers is automatically cut off.
NOTE
To prevent hearing loss, do not raise the volume level excessively
when using headphones.
Operations possible during playback


Find Your Products By Category
Please Login
