
3.9
Owner's of the Black & Decker Iron F67E gave it a score of 3.9 out of 5. Here's how the scores stacked up:

How to Use
This appliance is for household use only.
GETTING STARTED
Remove any labels, stickers or tags attached to the body or soleplate of the iron.
Note: Use ordinary tap water for ironing. Do not use water processed through a
home softening system.
Important: For optimum performance, let the iron stand for 90 seconds before
beginning to iron.
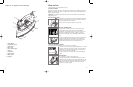
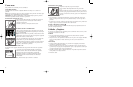
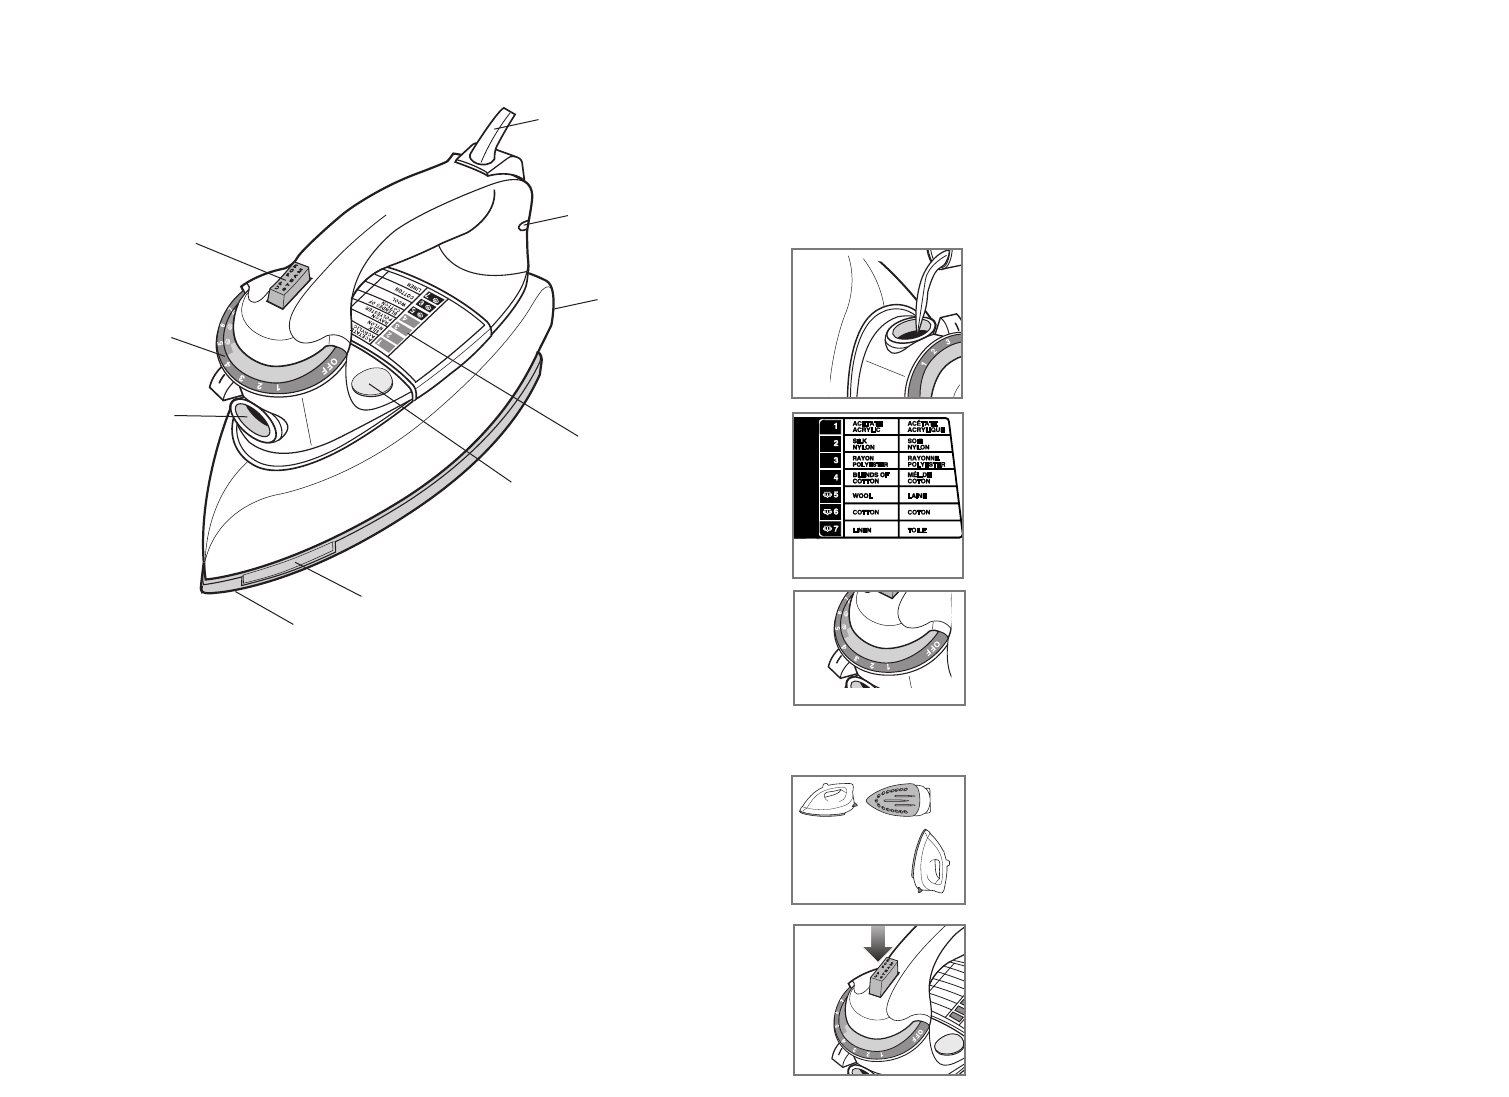
FILLING WATER TANK
1. With the iron unplugged and the steam button latched in
the down position, use a clean cup and pour water into
the fill hole (A). Refill as needed.
2. Plug in the iron and let it stand on its heel rest.
SELECTING TEMPERATURE
1. Use the fabric guide on the iron to select the proper
temperature setting for the fabric to be ironed (B).
Tip: If unsure of a garment's fiber, test a small area (on an
inside seam or hem) before ironing. If there is a brown
buildup on the soleplate, lower the setting and/or reduce
starch.
2. Once you determine the fabric type, set the temperature
selector to the appropriate setting for your fabric (C).
3. When finished ironing, place iron on its heel rest, turn
temperature selector to OFF and unplug the iron.
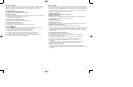
3-WAY AUTOMATIC SHUTOFF
The automatic shutoff feature in your iron works as follows:
• Once the iron reaches appropriate temperature, it will turn
off after 30 seconds of inactivity if left on its soleplate or
tipped over on its side. If left vertically on its heel rest,
it will shut off after 8 minutes (D).
• To turn it back on, move the iron until it starts heating
again.
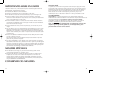
STEAM IRONING
1. Be sure there is water in the water tank.
2. Turn the temperature selector between settings 5 and 7.
3. Unlatch the steam button to the Up position (E). If steam
does not start, gently bump the soleplate on the ironing
board a few times. If water drips from vents, turn the
selector to a higher setting.
4
3
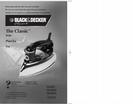
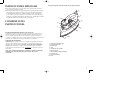
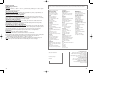
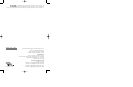
Product may vary slightly from what is illustrated.
1. Water-fill hole
2. Temperature selector
3. Steam button
4. Power cord
5. Power indicator light
6. Heel rest
7. Fabric guide
8. Water window
9. Button groove
10. Soleplate
ቢ
ባ
ቧ
ብ
ቦ
ቨ
ቩ
ቪ
ቫ
k
A
k
B
k
C
k
E
ቤ
8 minutes
30 seconds
k
D
F67EPub1000003128R1 9/20/06 12:11 PM Page 4


Find Your Products By Category
Please Login
