
4.1
Owner's of the AT&T Answering Machine Digital Answering Machine gave it a score of 4.1 out of 5. Here's how the scores stacked up:
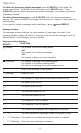
Installation
Parts list
1740 answering system
Wallet card
Part 1 Important product information
Part 2 User’s manual
Power adapter
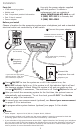
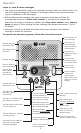
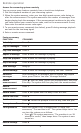
Before you install
Choose a location for the answering system near a telephone jack and a standard
electrical outlet not controlled by a wall switch.
•
•
•
•
•
Use only the power adapter supplied
with this product. To obtain a
replacement, visit our website at
www.telephones.att.com or call
1 (800) 222-3111. In Canada, dial
1 (866) 288-4268.
1
NOTES:
Power adapter - Input: 117V AC, 60 Hz / Output: 6V AC, 350 mA.
If the message window is off, make sure the power adapter is securely connected to both the
answering system and an electrical outlet not controlled by a wall switch.
If you subscribe to high-speed Internet service (DSL - digital subscriber line) through your telephone
line, you must install a DSL filter between the telephone line cord and the telephone wall jack. The
filter prevents noise and caller ID problems caused by DSL interference. Please contact your DSL
service provider for more information about DSL filters.
•
•
•
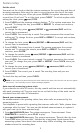
Press ON/OFF to turn the system on or off. If the system is on, the
ON/OFF indicator light is on. If the system is off, the indicator light is off and
the message window is blank. When the system is off and you press any key
(except ON/OFF), it announces, “The machine is off. Press ON/OFF to turn on.”
After you install the answering system for the first time, the system turns on
automatically and announces, “To set the clock, press CLOCK.” See Set the
clock on page 2 for instructions.
To record your own announcement (optional), see Record your announcement
on pages 2-3 for instructions.
To program other system features (optional), see pages 3-4 for details.
4
5
6
7
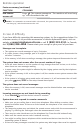
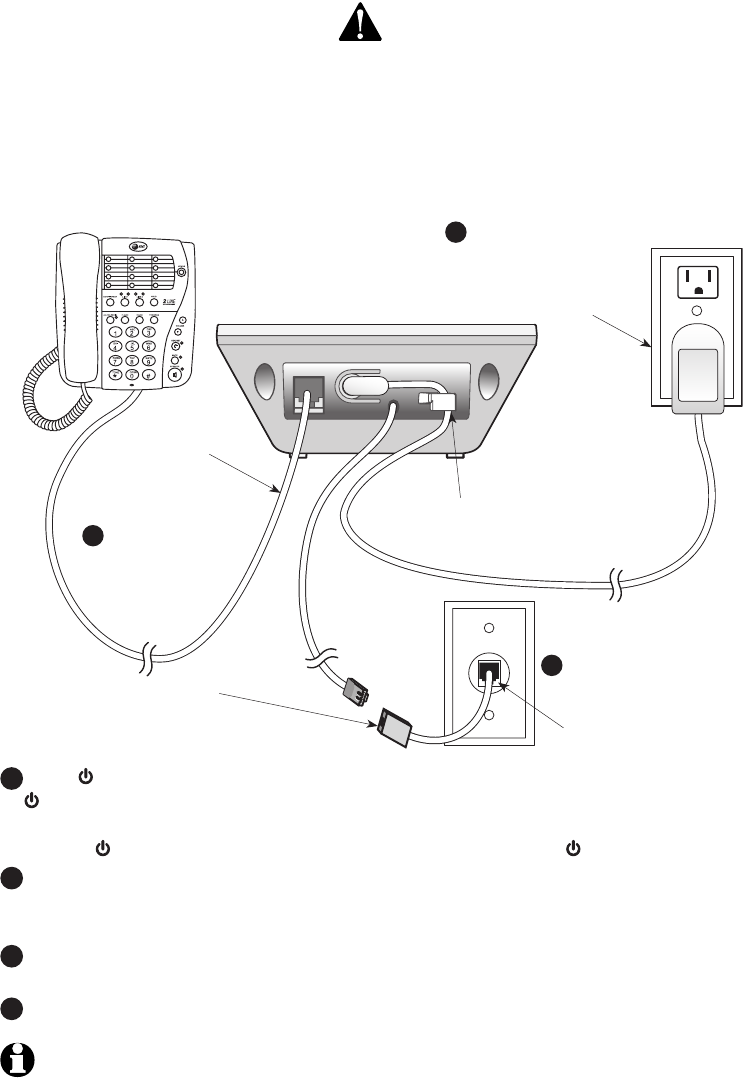
Connect the power adapter.
Standard electrical outlet not
controlled by a wall switch.
Strain-relief tab for protecting
the power cord.
Connect the
telephone line cord.
Telephone jack
Telephone line cord
(not included)
Connect a
telephone
(optional).
If you have DSL high-speed
Internet service, a DSL filter
(not included) is required.
3
2
1


Find Your Products By Category
Please Login
